Targets are the end recipients and contacts that are the “marketing targets” of every single marketing effort. This is where you can find every Target currently in your Platform Account and access/edit their profile information.
From this page, you can also add new Targets individually, or through a mass CSV upload from an Excel CSV file.
To access your Targets, navigate to Data Warehouse > Targets.
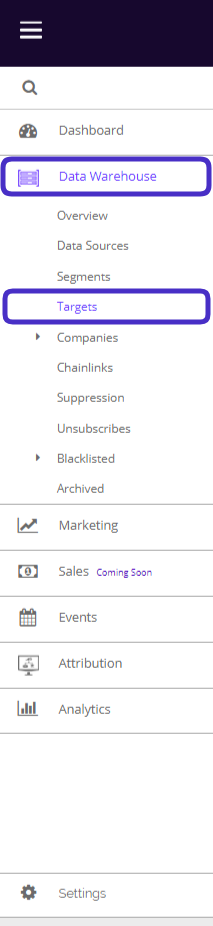
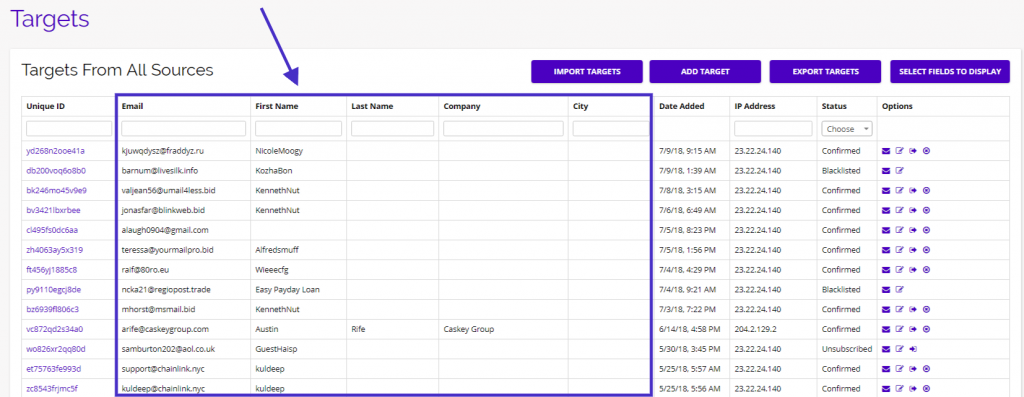
This is what the Targets dashboard looks like:
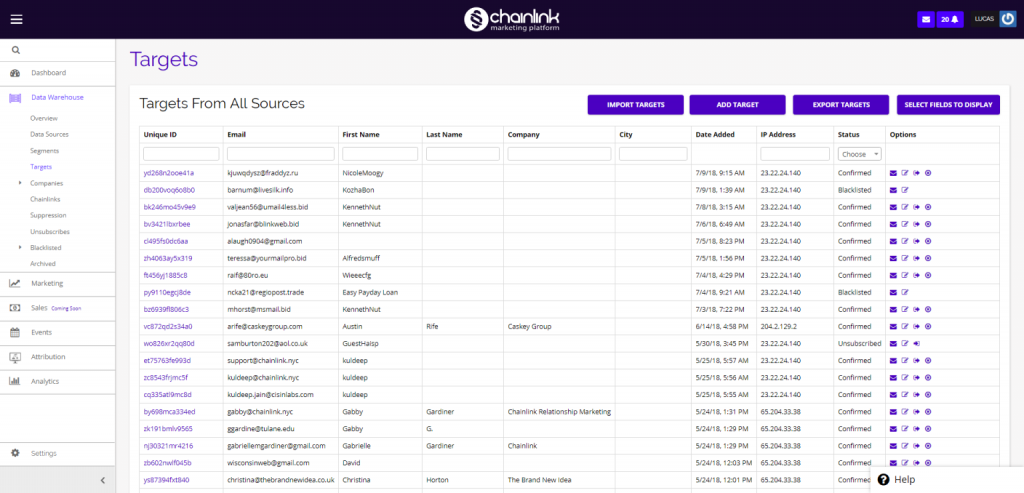
From the targets dashboard you have a number of options. You can view an individual target’s profile by clicking on their Unique ID. You can also import targets, add individual targets, export targets, edit the organization of the dashboard, and more.
1. Adding Targets
Import Targets:
- If you want to import a list of targets from outside of the Chainlink Platform, click the Import Targets button at the top of the Targets dashboard.
![]()
- From here, select the file type that you want to import and follow the instructions.
- Once you’ve selected your file, you will be able to select which fields you want to import to the platform from your file.
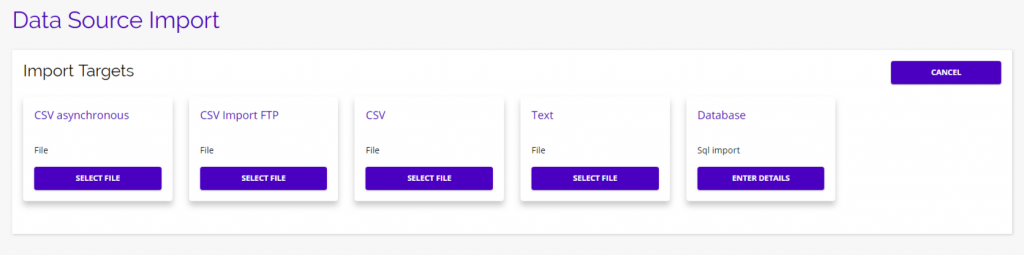
CSV Asynchronous
CVS asynchronous allows you to import a standard CSV file that will verify and upload in the background. This allows you to continue working in other parts of the platform while your targets are imported. CSV asynchronous is useful if you are uploading a large number of targets and don’t want to wait on the import page while your targets are uploaded. (You will receive an email notification when your upload is complete)
CSV Import FTP
CSV Import FTP is a good option if you want to keep your imported targets private through a protected FTP server.
CSV
The CSV option is the standard CSV file import. You will be able to see the import progress after you upload your file. (Use this option if you are importing a smaller amount of targets)
Text
The text option is useful if your target data is organizaed in a text file.
Database
Choose the Database option if your data is organized in a Sql database.
- Note: Make sure the data you plan to import is in the proper format and isn’t over 20 MB.
- Note: We recommended that you first do a test import (in a test list) and see if that goes as planned, then do it for your actual list. You can also download an example csv file to see how your file should be formatted.
- After a few minutes, your new Targets will be uploaded to the platform and you will be able to see them at the top of the Targets dashboard.
Add Individual Targets:
- If you have a single target you want to add to the Platform, click the Add Target button and you will be brought to an empty profile page.
![]()
- From here you can add all of the available information you have on your new Target.
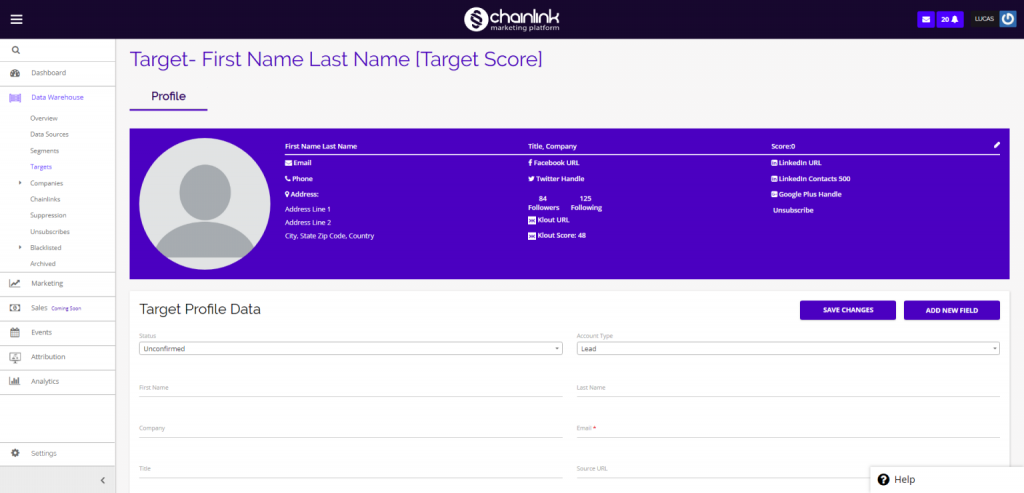
- Each Target has a profile that is an overview of their personal, company, and social information, as well as that Target’s score within the platform.
- Note: Once you’ve filled out the Target’s information, make sure you change the status to Confirmed and click Save Changes and your target will be added to the targets dashboard. (If you do not change the status to Confirmed, the target will not be added to the platform.)
2. Export Targets
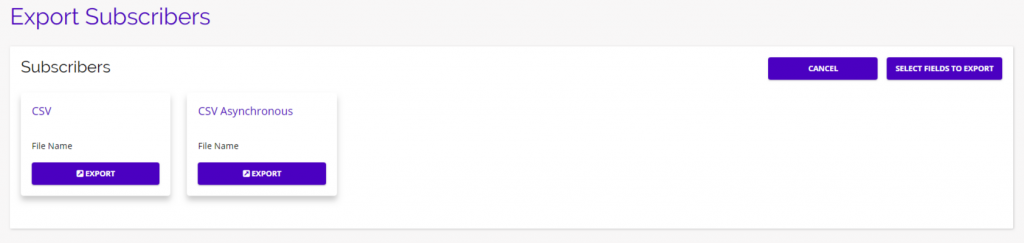
- If you want to export a list of targets from the platform, click the Export Targets button, and you will be brought to a page where you can select the file type you would like to export.
- From here you can click the Export button for a specific file type, as well as select the fields you want to export.
- To edit what information you want to export for each Target, click Select Fields To Export, and this page will appear where you can drag and drop any fields to/from the Export Fields section:
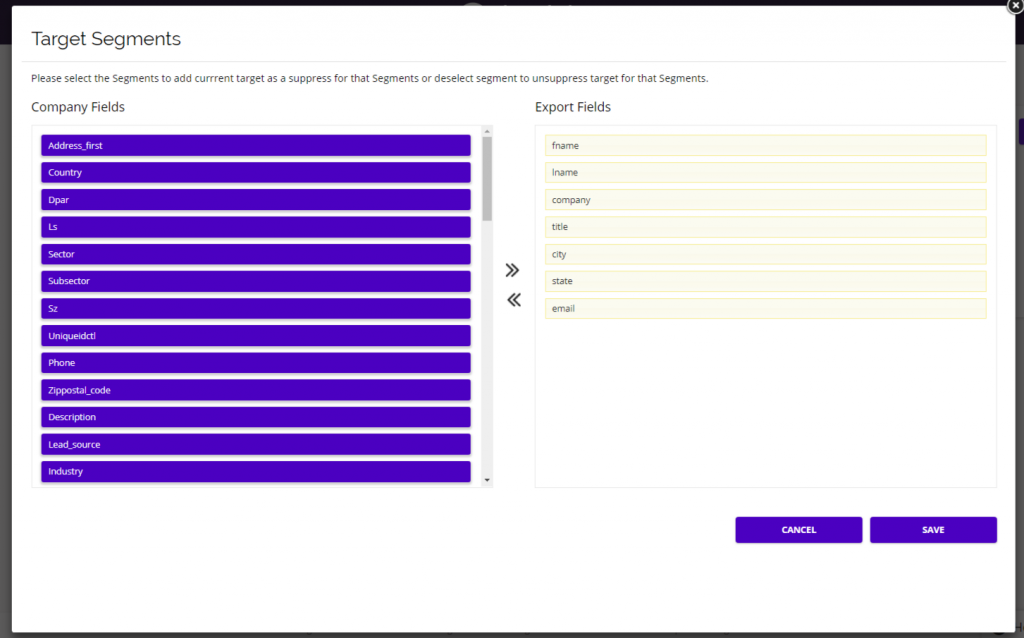
- Be sure to select Save when you have decided which fields you want to be exported.
- Click the Export button under the file type you want and your download will begin automatically.
3. Organizing The Targets Dashboard
- From the targets dashboard, you have the ability to change the way your targets are organized, and change which fields will be displayed.
- Click on the Select Fields To Display button and this page will appear:
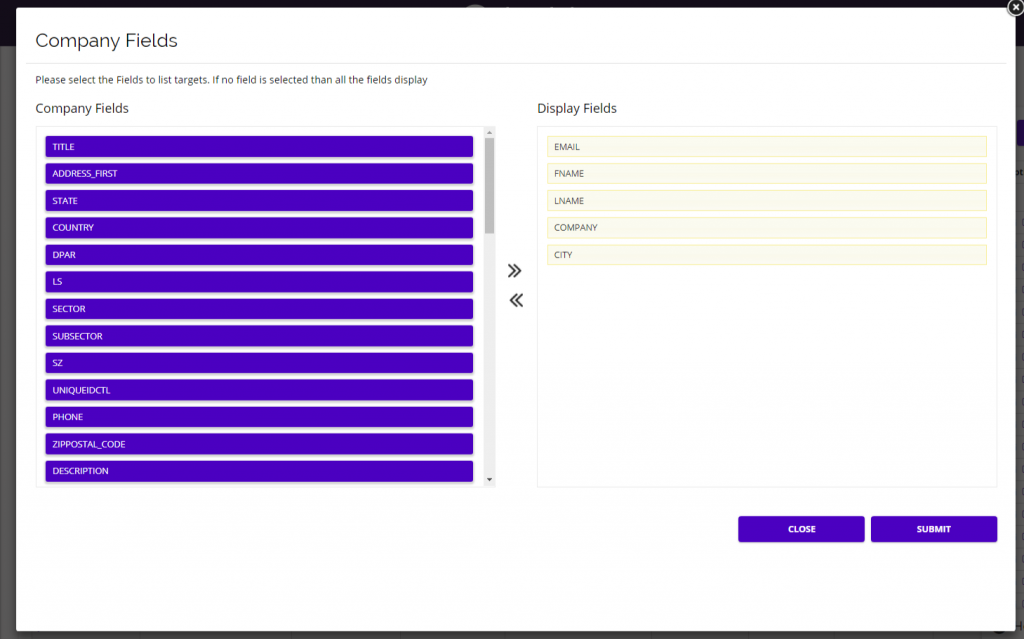
- Similar to the export option, from here you can customize which fields will be displayed for each Target on your Targets dashboard.
- You can add any fields from the list on the left or take away any fields from the active list on the right.
- In this example, the selected display fields are Email, First Name, Last Name, Company, and City. (Some standard fields will always be present on your Targets list.)
- You can see how this translates on the Targets dashboard:
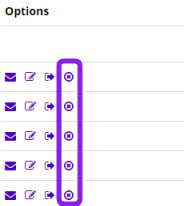
4. Options
- Under the Options column on the Targets dashboard you have a number of quick tools to choose from.
- Note: If you are the main account user, you will also have the option of disabling/enabling subscribers.
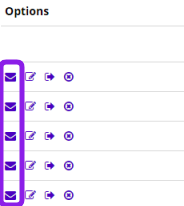
Campaigns Sent to Target
- By clicking the mail icon under the options column, you can see all of the Marketing Campaigns that have been sent to a specific Target.
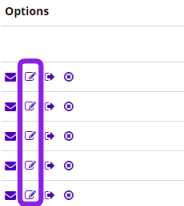
Update Target
- To update a Target’s information, click on the pencil/paper icon under the Options column and you will be brought to that Target’s profile.
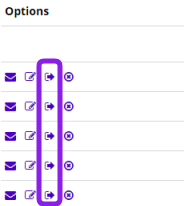
Unsubscribe Target
- To easily unsubscribe an individual Target, click on the unsubscribe icon under the Options column and that Target will no longer receive any of your marketing programs.
Delete Target
- To delete any target from the platform, all you have to do is click on the delete icon under the Options column.