Once you’ve mastered using the layout, typography, and media & more block, you can begin adding social profile blocks to your landing page. Take a look at the instructions below, showing you how to use the Social blocks when building a landing page.
- Below the Media & More blocks, you will find the Social section that contains just two elements, or blocks; Social Profile, and the Social Profile Block.
- These elements can be added to your page to include social icons that link to any of your social media account pages.
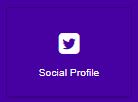
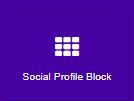
- These two elements serve a very similar purpose. The only difference is that “Social Profile” will add a single social icon, while the “Social Profile Block” will add 4 social icons in a row.
- In the example below, a Social Profile was added to the left column, while a Social Profile Block was added to the column on the right:

- The 4 standard social profiles that will be added with the Social Profile Block are Facebook, Twitter, Google, and LinkedIn. However, you can easily change any of the social profiles in the settings of the style manager.
- Note: You can edit your default social profile URLs in the Social Media Settings within the platform, or simply edit the URL in the Href field within the landing page builder for the selected social profile.
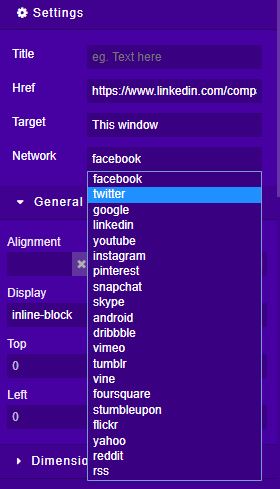
- As you can see in the style manager settings, you will be able to add your social profile link, choose to open in the current window or a new window, and select the social network icon from a list of 20 different networks.
- Note: It is recommended that you choose to open the social profile in a new window, this way your targets will not be redirected away from your landing page.