Using variables can simplify your marketing efforts in Chainlink’s Marketing Platform. You can use custom variables in you inbound and outbound marketing efforts to create personalized and dynamically functional programs. This guide will show you how to make your own Variables/Tags.
Custom Tags can be useful if there is a piece of information that you want to include in a number of marketing programs, but might be different for each target (name or city). If you can’t find a tag that comes standard with Chainlink’s Marketing Platform, you can easily create your own. Custom Variables will take information from the platform to populate user/account information.
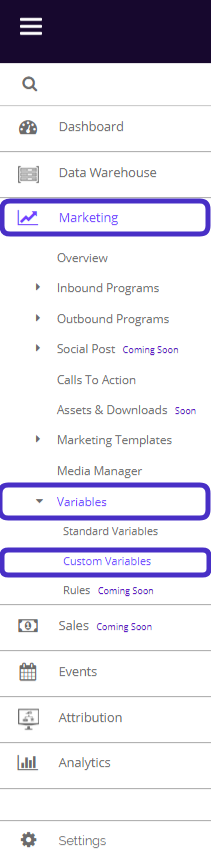
To access your standard variables, navigate to Marketing > Variables > Custom Variables.
This is what the Custom Variables page looks like:
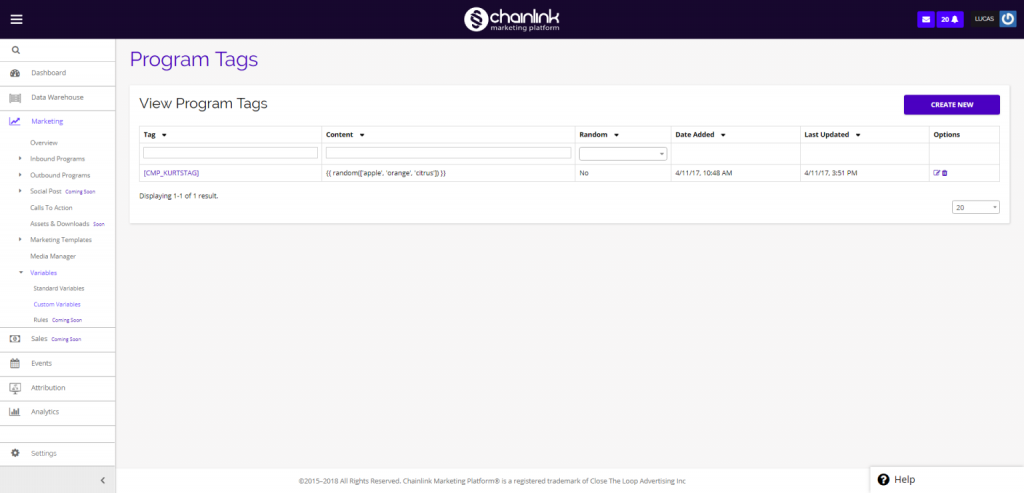
From here you can view any variables you have created and create new variables to help personalize your programs.
1. Create a Custom Variable
- Click the Create New button in the top right corner of the dashboard. You will be brought to this page:
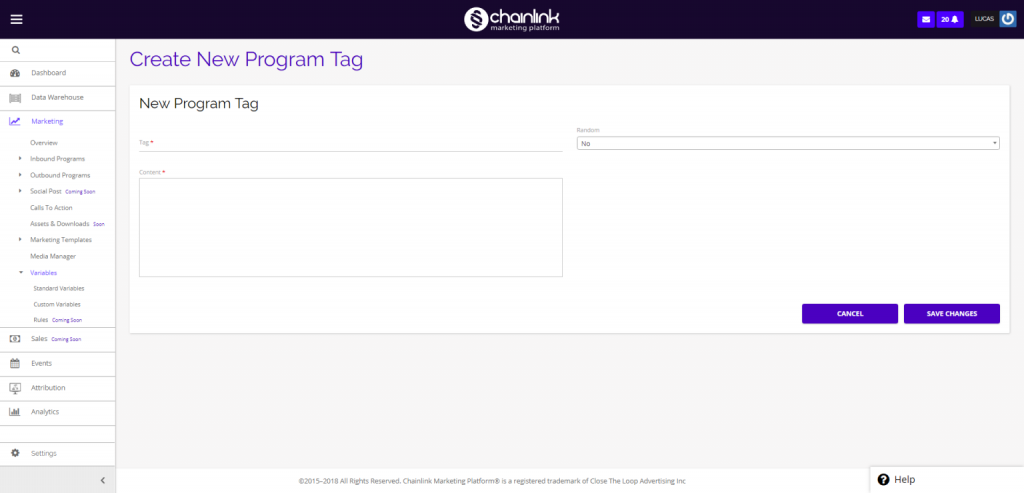
- From here you can add your Program Tag and content for your new custom variable.
- The Tag/Variable name should be formatted like: VARIABLE
- The platform will reformat Tag Names to look like: [CPM_RANDOM]
- The content should be formatted like: {variable} or {{variable}}
- Be sure to click the Save Changes button when finished adding the necessary information and your custom variable will be added to the custom variables dashboard.
- You will now be able to add the new custom variable to any programs you create.
- Note: Make sure you use the proper format for the Tag and Content to ensure the Tag functions correctly. See an example standard tag if you are unsure of the formatting.
2. View/Edit Existing Custom Variables
- From the dashboard, you are able to view, edit, and delete any custom variables you have already created in the platform.
- To view or edit an existing tag, click on the tag name or the pencil/paper icon under the options column and you will be brought to the same page as creating a new custom tag where you can update the tag information.
- To delete a tag from the dashboard, simply click the trash can icon under the options column.