Forms are the way you gather information from your leads. They are a critical component of any marketing campaign, and what you ask on these forms is extremely important. You don’t want to scare away potential leads by asking too many irrelevant or required questions. Building trust between your brand and your visitors is key to gathering the information you need. Your forms should ask enough information to find out some key pieces of who they are, what they do, and what they are looking for, so you can better segment your leads.
As you gather this information and provide them with more valuable content that helps solve their needs, you can start asking for more information from them. Consider making some fields required; usually these fields are identifying information you need to categorize your leads (Name and Email). Make other, more detailed fields optional; these fields are the nice-to-haves but aren’t required to help you segment (Phone Number and Company/Industry).
Forms can be used in a number of marketing efforts, and creating a unique form in the Chainlink Marketing Platform is easy. Forms are customizable, allowing you to create unique and effective lead capture forms directly in the platform.
From the Forms dashboard, you have a number of options, but this guide will focus on explaining how to create a new form using Chainlink’s Form Builder. To learn about the other capabilities of the Forms page, take a look at our Forms Overview Knowledge Base.
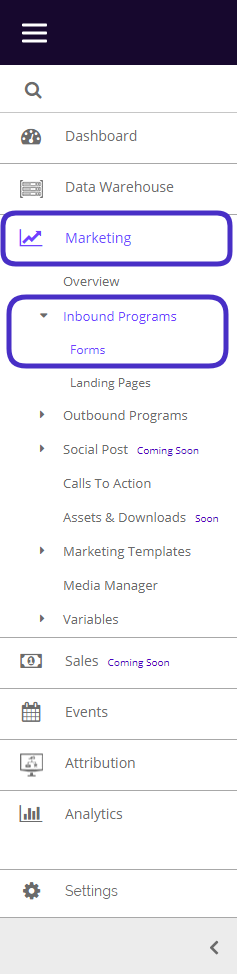
To access the Form Builder, navigate to Marketing > Inbound Programs > Forms.
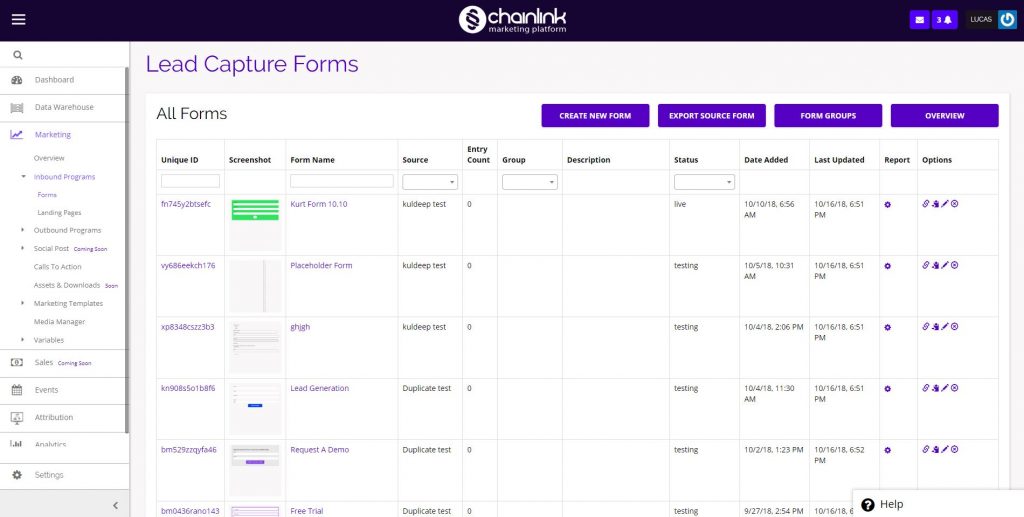
This is what the Forms dashboard looks like:
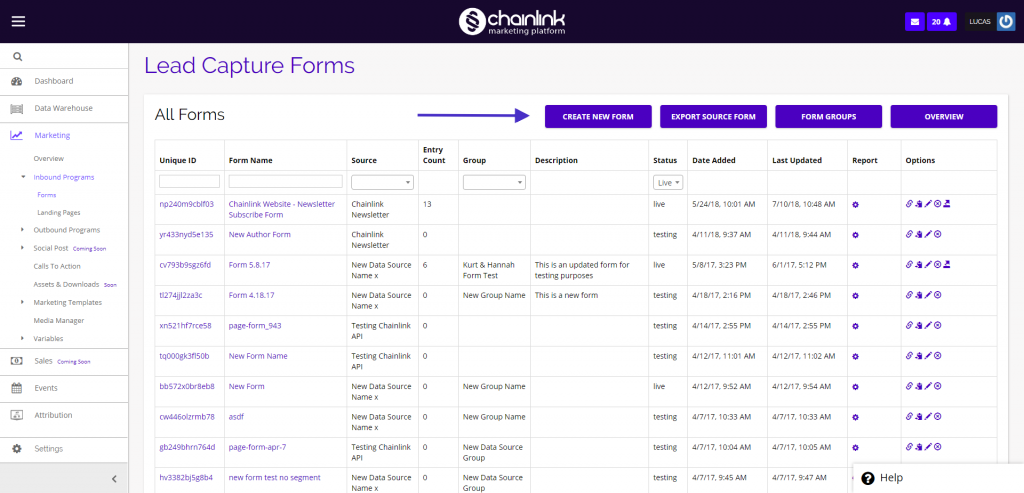
1. Create a New Form
- To create a new Form from the Forms dashboard, click Create New Form.
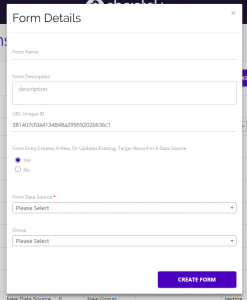
Form Details:
- After clicking Create New Form a pop-up page will appear where you can input your preliminary Form details. You’ll be able to name your Form, add a Form description, create a custom URL Unique ID, select a Form Data Source and Form Group.
- The URL Unique ID is what will show up at the end of your Form’s URL. You can customize this part of the URL to say whatever you want as long as you only use letters/numbers, no spaces or special characters.
- Note: The Form name is internal and will not be visible on your live Form.
Form Settings:
- After entering your Form details, you will be brought to the Form Builder.
- The first step is to input your Form settings:
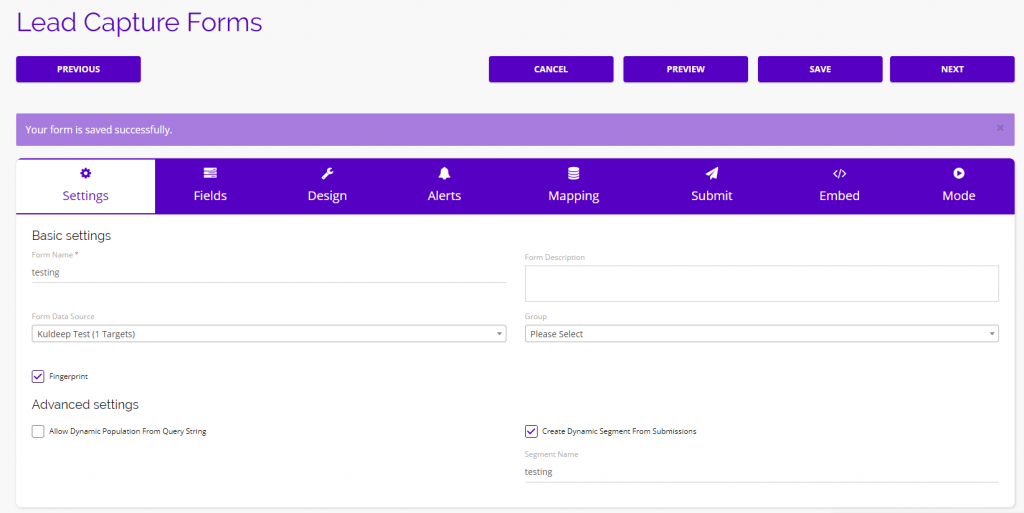
- Enable the Fingerprint option to allow Chainlink to track targets upon form submissions.
- If you enable “Create Dynamic Segment From Submissions”, a new segment will be created including all of the Targets who submitted a Form.
- Once you have entered all of the required information, click Next in the top right corner and you will be brought to the fields tab.
Fields:
- In the fields section, you’ll be able to populate your Form with a variety of fields.
- You also have the option of importing a Form Template from “Your Forms” by clicking the Import Templates button at the top of the screen.
- When you find a field you want to add to your Form from the list on the left of the Form builder, simply drag and drop the property in the desired location on your Form.
- Note: Fields can only be placed above or below other fields, not next to each other.
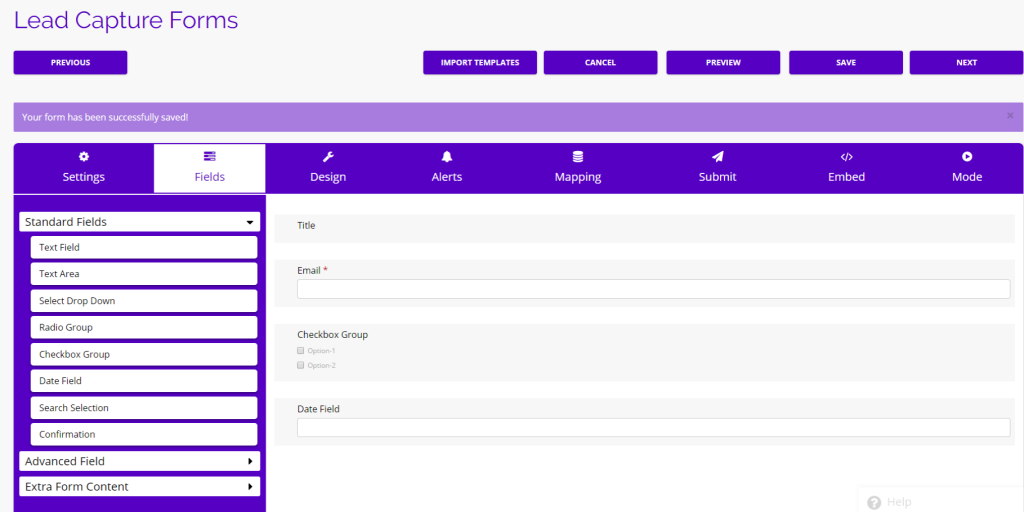
- In this example, you can see that we have added the Title, email, checkbox, and date fields.
- To edit the field labels and options, hover over a field and click the pencil icon on the right. A drop down will appear where you can edit that field’s details.
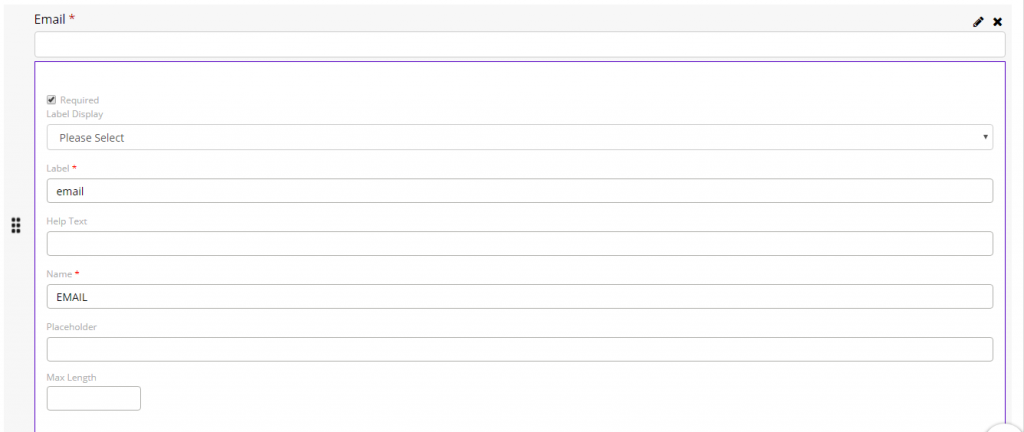
- Note: An email address is required to create a contact, so the Email field should always be marked as required on your Forms.
- Click Next when you are finished adding fields to your Form to proceed to the design step.
Design:
- The next step in building a Form is customizing the Form design.
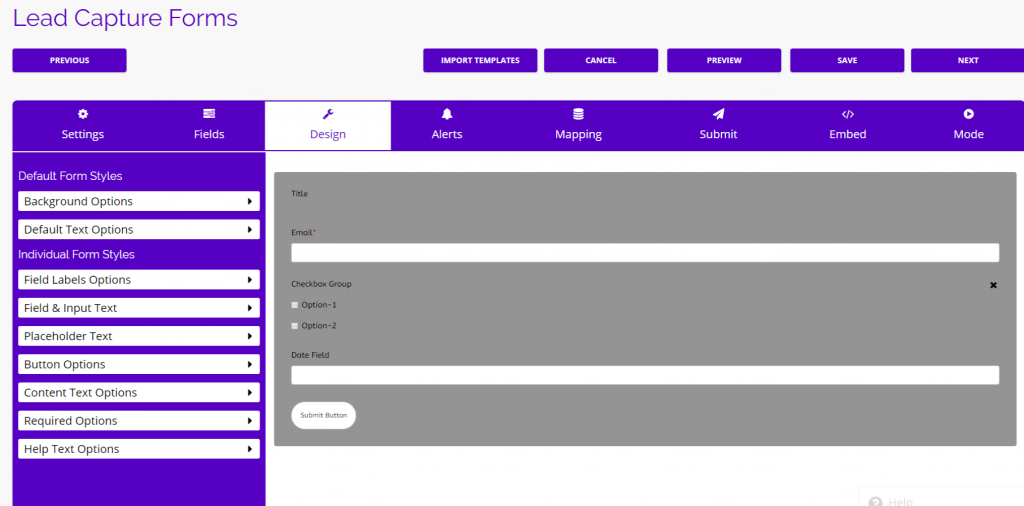
- There are a number of design options, allowing you to customize almost every aspect of the form.
- You can edit the Form background, default text, field labels, field and input text, placeholder text, submit button, content text, required options, and help text options.
- In this example, you can see we made the Form background grey.
- Hover over a menu tab on the left side of the Form builder to see more details about what you can edit. Click on the tab to expand the drop down options.
- When you are finished designing your Form, click Save and then Next and you will be brought to the Alerts tab.
Alerts:
- Next, you will be able to edit your Form’s alerts and notifications.
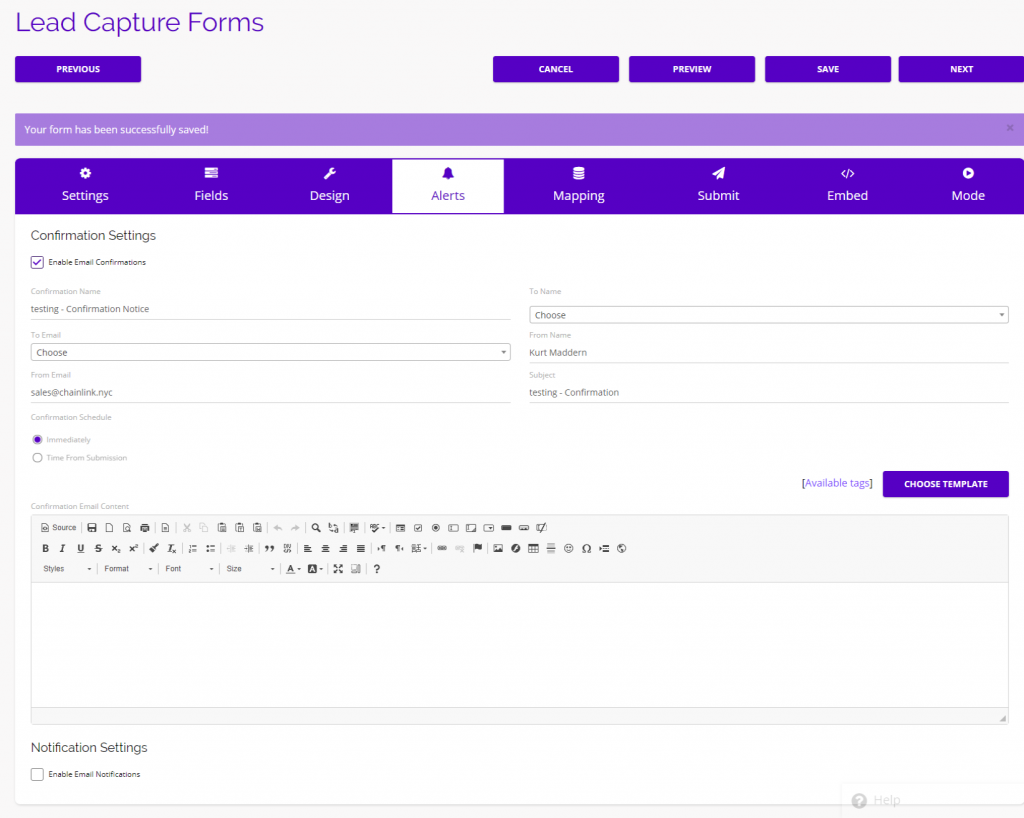
- You have the option of enabling alerts for email confirmations and email notifications.
- If you choose to enable confirmations or notifications, you will be able to customize the emails that are sent out upon a Form submission.
- Click Save and then Next when you are finished editing your Form alerts.
Mapping:
- Mapping is where you can edit the conditions for dynamically updating Targets’ profiles after a form is filled out.
- You can also limit the amount of entries per user or by total entries.
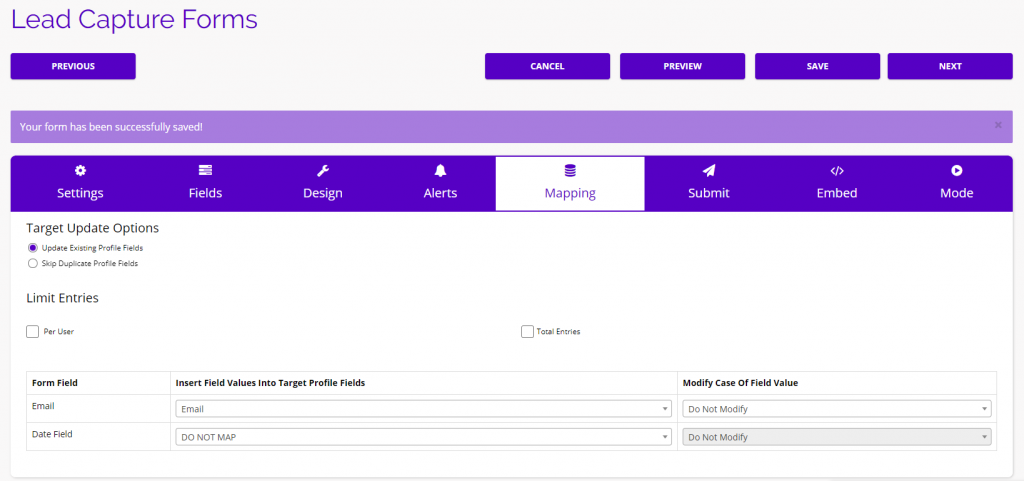
- At the bottom of the mapping tab, you can choose which Form fields you want to update in a Targets’ profile and add any modifications to the case of the field values.
- Click Save and then Next to continue building your Form.
Submit:
- The submit section is where you can override and edit your default submit button, the message displayed after submitting the Form, and choose where a Target will redirect to after they submit a Form.
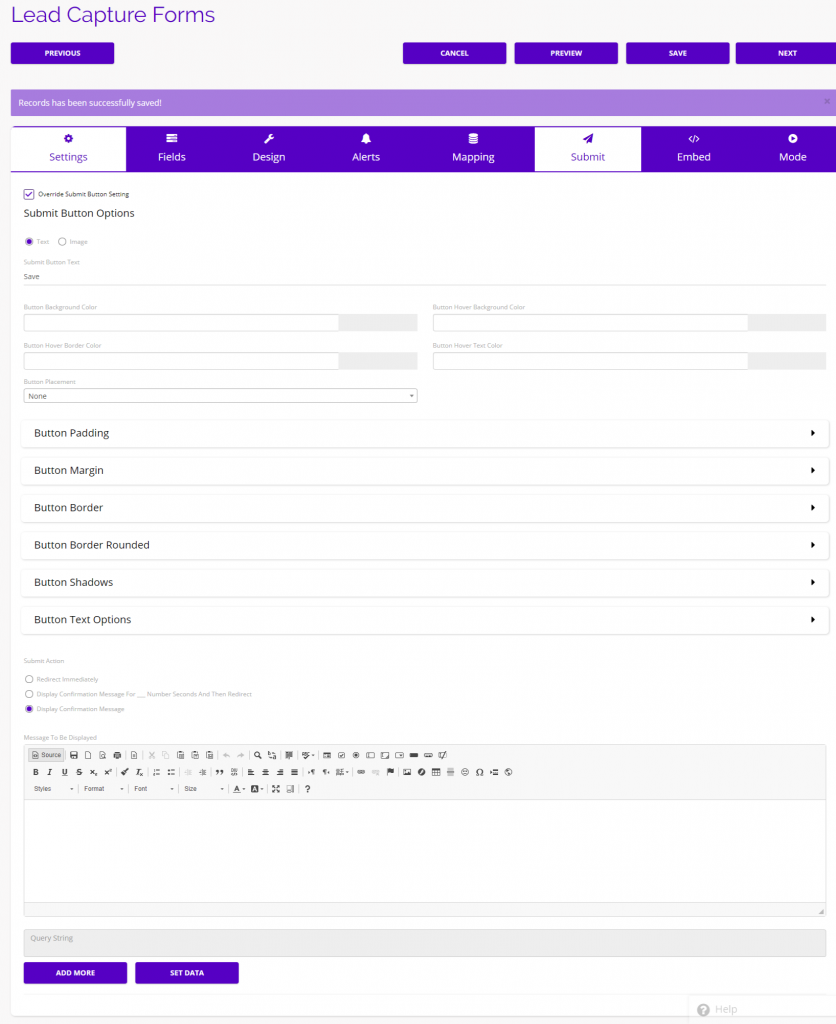
- If you click Override Submit Button Setting, you will be able to customize all of your button details and design options from this page.
- Click Save and Next when you finish editing your submit options.
Embed:
- The embed tab gives you the ability to embed your Form on a web page.
- To do so, first enter the URL of the page you want to embed the Form on. (You can embed a Form on multiple pages)
- You will find the Iframe, HTML, JavaScript, and Stylesheet embed codes below the Embed Options.
- Copy the desired code and paste it in the code of the web page you want the Form to live on.
- Note: You can set the Form to a fixed Width and Height to ensure the embed code doesn’t automatically adjust the Form.
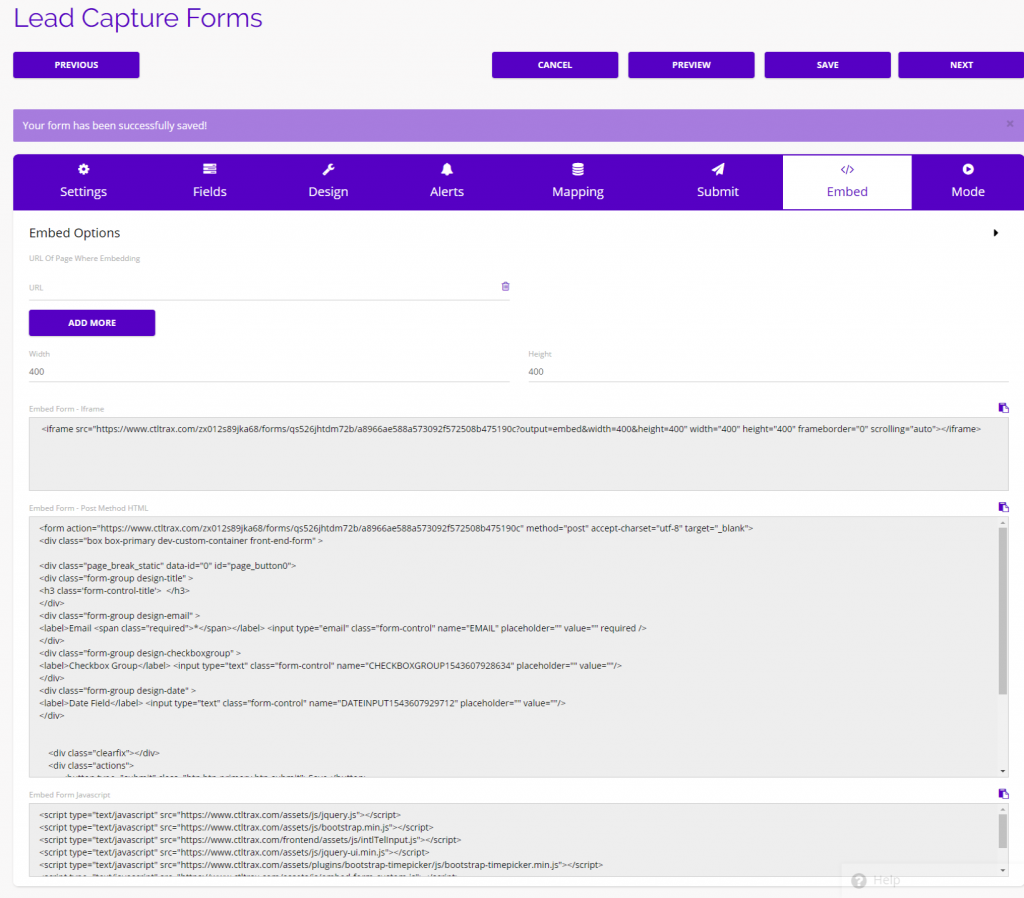
- Click Save and Next to continue to the final step.
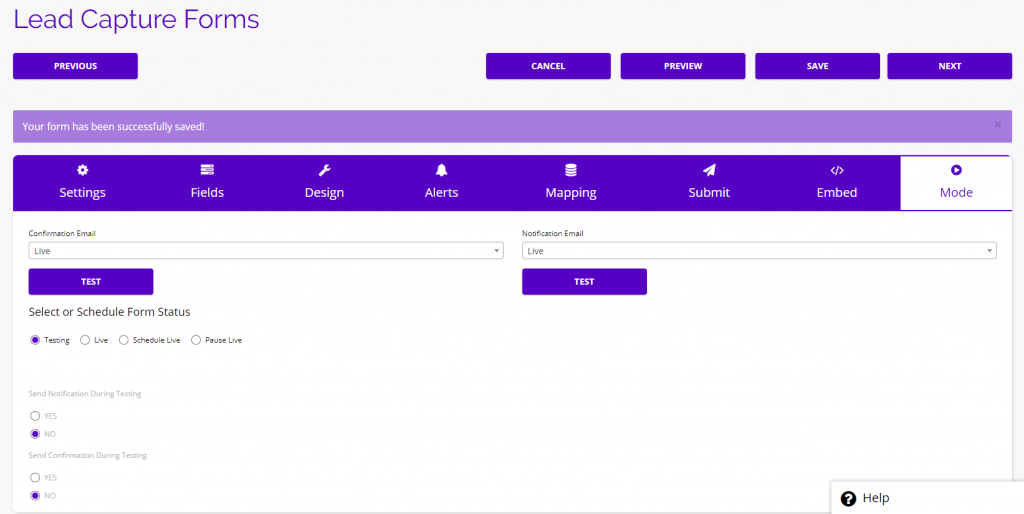
Mode:
- The Mode tab is where you can edit the status of your Form and change the confirmation/notification email status.
- Here you can easily switch your Form from testing to live, or schedule when you want the Form to go live.
- Note: If you are using confirmation or notification emails, we recommend that you send out Test emails before going live with the form.
- Click Save and Next to finalize your Form and it will be added to the top of your Forms dashboard.
- Note: You can preview your Form at any point in the Form building process by clicking the Preview button at the top of the form builder.
- For more information on Form Groups and Form Analytics, take a look at our Forms Overview Knowledge Base.