Adding Targets to your Blacklist prevents them from receiving future outbound marketing efforts. The Blacklisted Targets page is simply a listing page for all of your blacklisted Targets. From here you can add individual Targets to your Blacklist, and import/export a list of Blacklisted Targets.
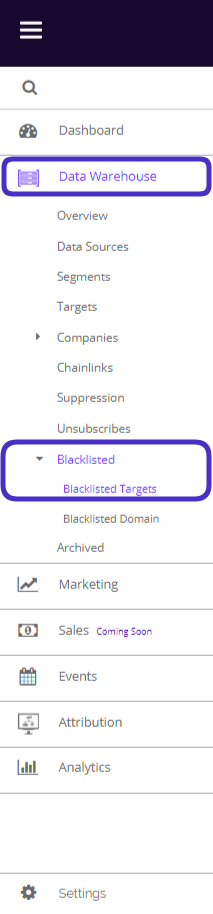
To access your Blacklisted Targets, navigate to Data Warehouse > Blacklisted > Blacklisted Targets.
This is what your Blacklisted Dashboard looks like:
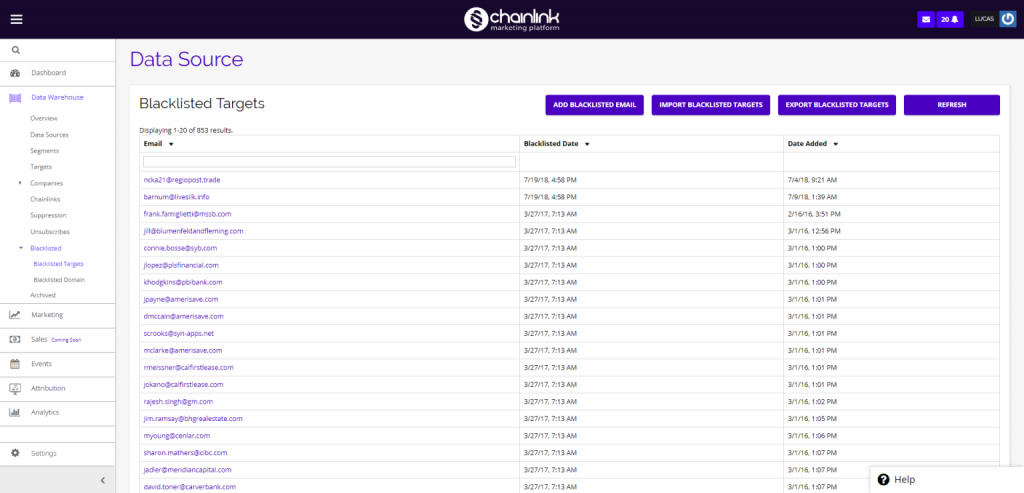
From the Blacklisted Targets Dashboard, you can view all of your currently Blacklisted Targets, add individual Blacklisted emails addresses, and import/export a list of Blacklisted Targets.
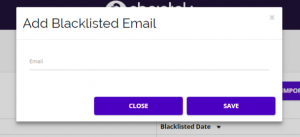
1. Add Blacklisted Email

- To Blacklist an individual Target, click the Add Blacklisted Email button, and this form will appear where you can input the email address you want to add to your Blacklist. This email will no longer receive your email programs.
2. Import Blacklisted Targets
- If you want to import a list of Blacklisted Targets from outside of the platform, click the Import Blacklisted Targets button.

- Next, you can select a CSV file containing the Blacklisted Emails you want to add to the Chainlink Marketing Platform.
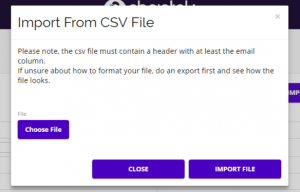
- Note: If you are unsure how to correctly format your CSV file for Chainlink’s Platform, do an export first and mimic the format.
3. Export Blacklisted Targets

- You can also export your Blacklisted Targets by clicking the Export Blacklisted Targets button.
- You will then be brought to this page where you can download all of your Blacklisted Targets from Chainlink’s Marketing Platform.

- Select the Click To Export button and your export will begin immediately.
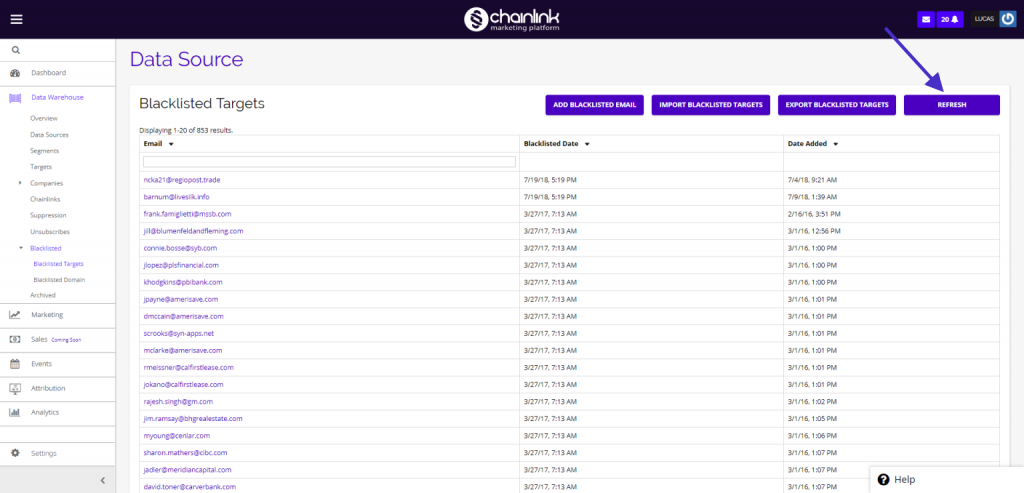
4. Refresh Targets
- Click the Refresh button in the top right of the dashboard to to see the most recent Targets that have been Blacklisted. The newest Blacklisted Targets will be added to the top of your dashboard.