Forms are the way you gather information from your leads. They are a critical component of any marketing campaign, and what you ask on these forms is extremely important. You don’t want to scare away potential leads by asking too many irrelevant or required questions. Building trust between your brand and your visitors is key to gathering the information you need. Your forms should ask enough information to find out some key pieces of who they are, what they do, and what they are looking for, so you can better segment your leads.
As you gather this information and provide them with more valuable content that helps solve their needs, you can start asking for more information. Consider making some fields required; usually these fields are identifying information you need to categorize your leads (Name and Email). Make other, more detailed fields optional; these fields are the nice-to-haves but aren’t required to help you segment (Phone Number and Company/Industry).
Forms can be used in a number of marketing efforts, and creating a unique form in the Chainlink Marketing Platform is easy. Forms are completely customizable, allowing you to create unique and effective lead capture forms directly in the platform.
This guide will touch on the number of options you have from the Forms dashboard:
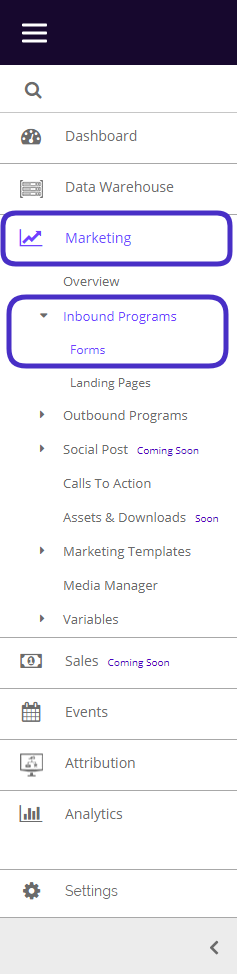
To access Forms, navigate to Marketing > Inbound Programs > Forms.
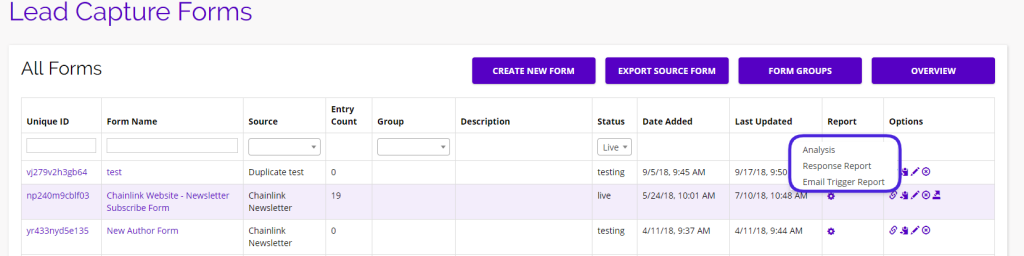
This is what the Forms dashboard looks like:
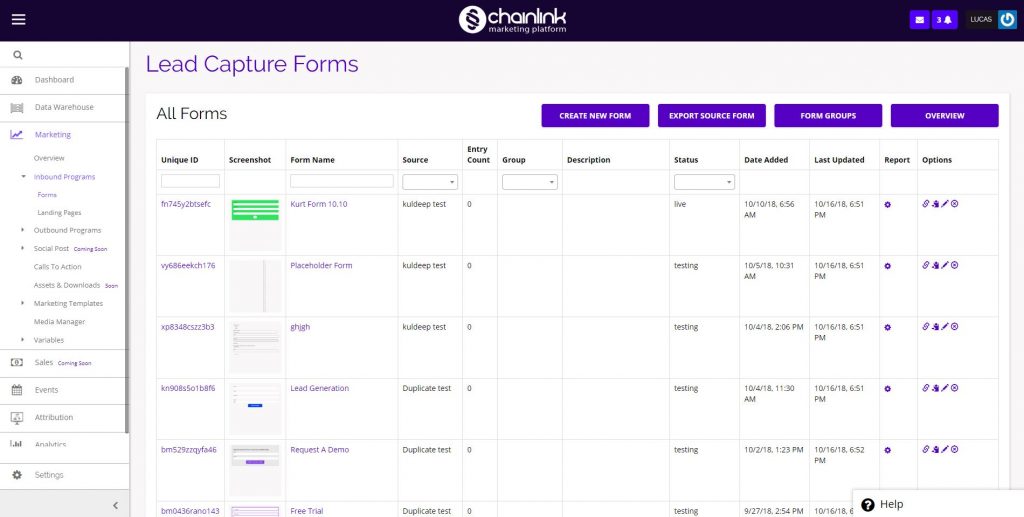
- You can view/edit an existing form by clicking on the Unique ID or Form Name.
- You can view a Form’s Analysis, Response Report, or Email Trigger Report by hovering over the gear icon under the Report column and selecting the report you want to view.
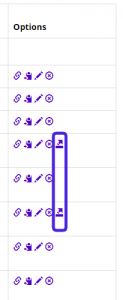
- Under the Options column, you can view a preview of a Form, copy a Form, and update or delete a Form.
- You can also Create New Forms, Export Form Data, Manage Form Groups, and see an Overview of all of your Forms’ performance by using the tool bar at the top of the dashboard.
- Take a look at our How to Create a Form Knowledge Base for step by step instructions on how to use the Form builder.
1. Export Source Form
- From the Forms dashboard you have the ability to export data from all of the Forms you have created.

- To do so, click on the Export Source Form button on the Forms dashboard and then click the Export button and your export will begin automatically.
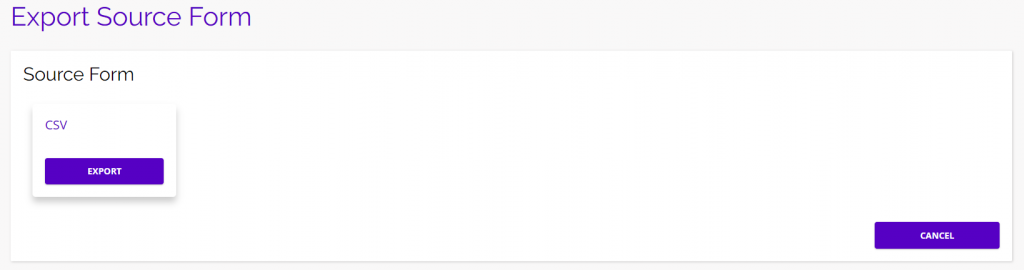
- A zip file will be downloaded with all of your Form data.
2. Form Groups
- Form Groups are an easy way to organize all of your Forms.
- When you start creating a large number of Forms in the platform, it will be useful to categorize your Forms so they can be found easily in the platform for future use.

- When you click on the Form Groups button, you will be brought to this page where you can create a new group, and view, edit, or delete any of your Form Groups:
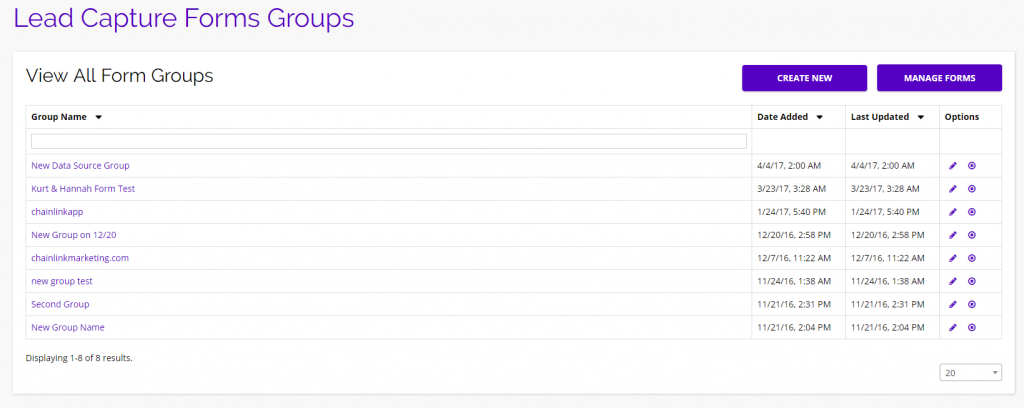
- Click Create New and enter the group name to to start a new Form Group.
- Click the Manage Forms button to return to the Forms dashboard.
- To edit a Form Group, click on the pencil icon under the options column.
- To delete a Form Group, click on the delete icon under the options column.
- To view the Forms in a Form Group, click on the Form name and you will be brought to a listing page will all of the Forms in that group:
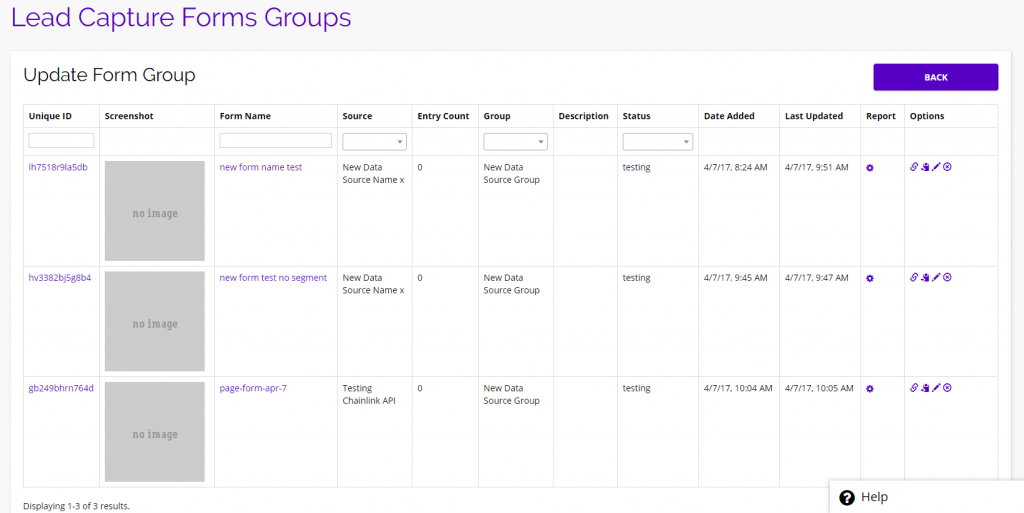
- From here you can view/edit any of the Forms in the Form group by clicking on the Form name, or the pencil icon under the options column.
3. Overview
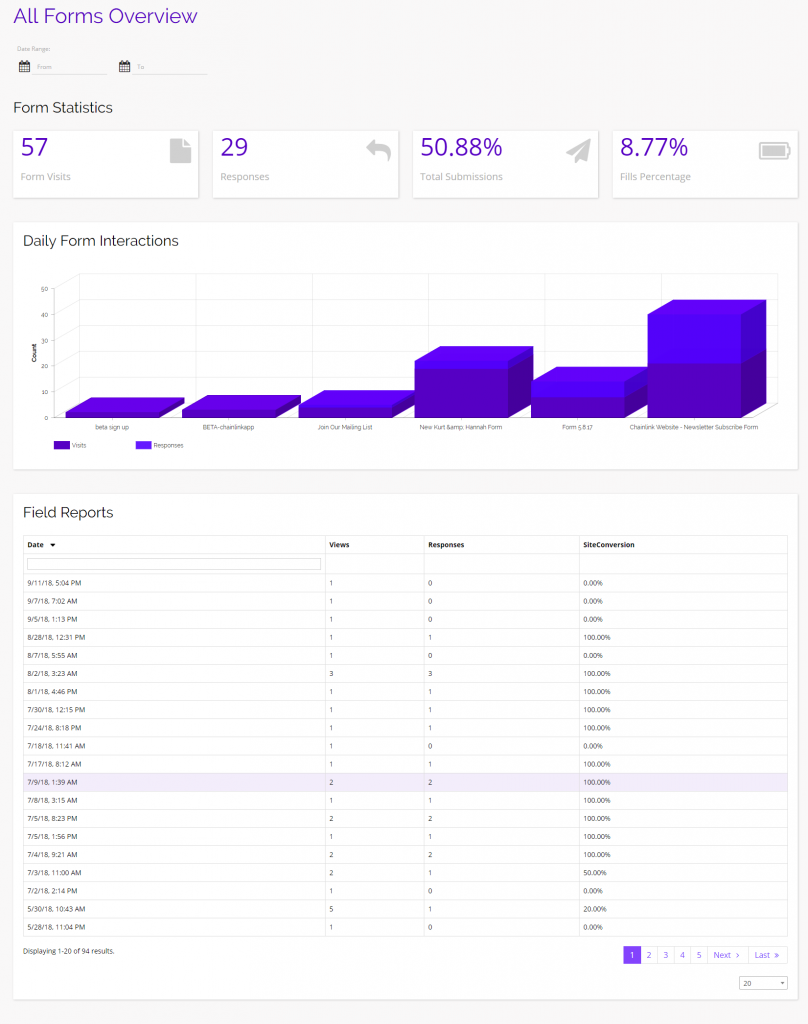
- To view your overall Forms Report, click on the Overview button at the top of the Forms dashboard.

- You will then be brought to a report page where you can see the high level statistics of all of your Forms.
- Here you will see your basic Form stats, daily Form interactions, and a list of individual Field stats.
4. Individual Form Analysis
- While the Form Overview can be useful to see a high-level report of all of your Forms, you might want to analyze an individual Form report.
- Every Form has three report options to choose from:
- Analysis
- Response Report
- Email Trigger Report
- Each report shows different statistics based on that individual Form.
- To Access these reports, hover over the gear icon in the report column for the Form you want to view, and you will be given the option of selecting one of the three reports.
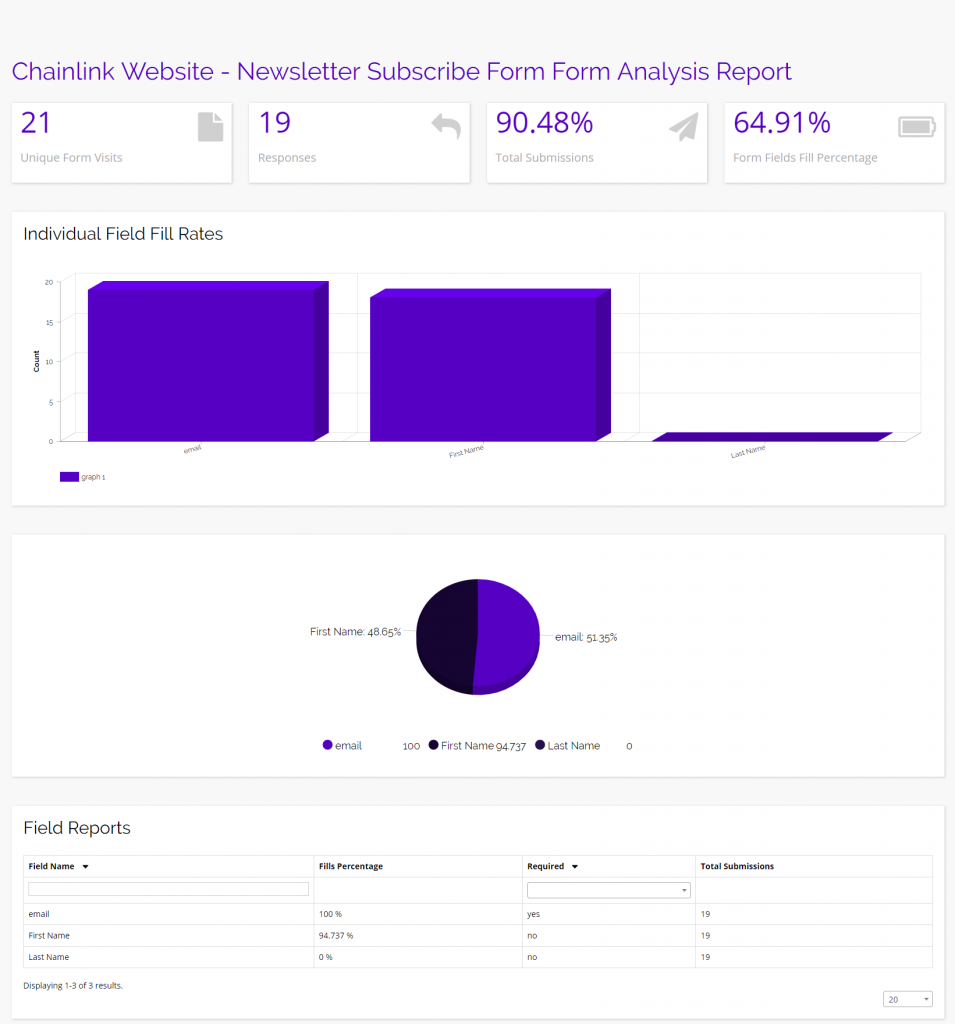
Analysis:
- The individual Form Analysis Report gives you a detailed breakdown of how your Form performed and how many fills each field recieved.
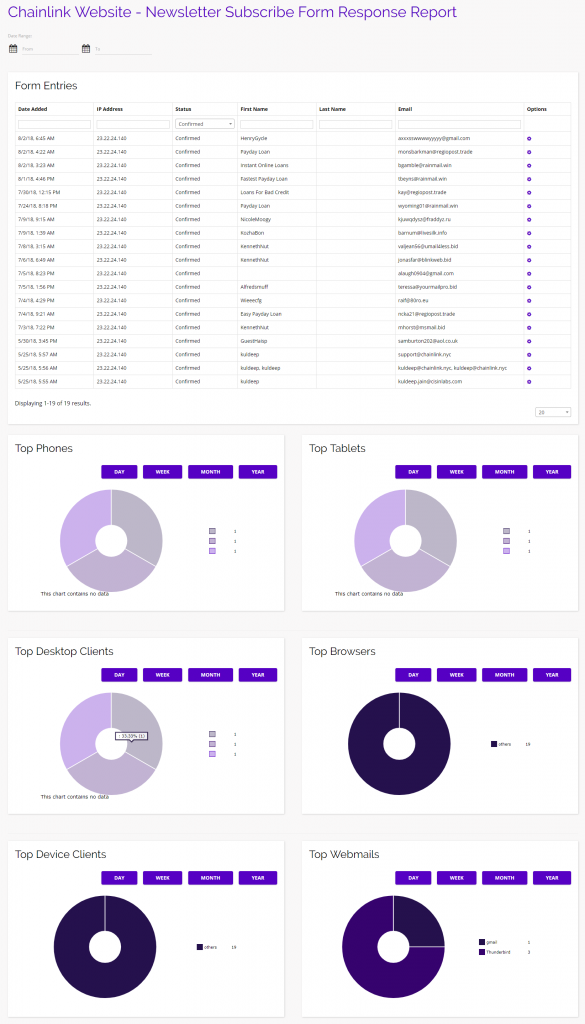
Response Report:
- The Form Response Report shows you a list of all Form entries and the top devices and browsers used to fill out the Form.
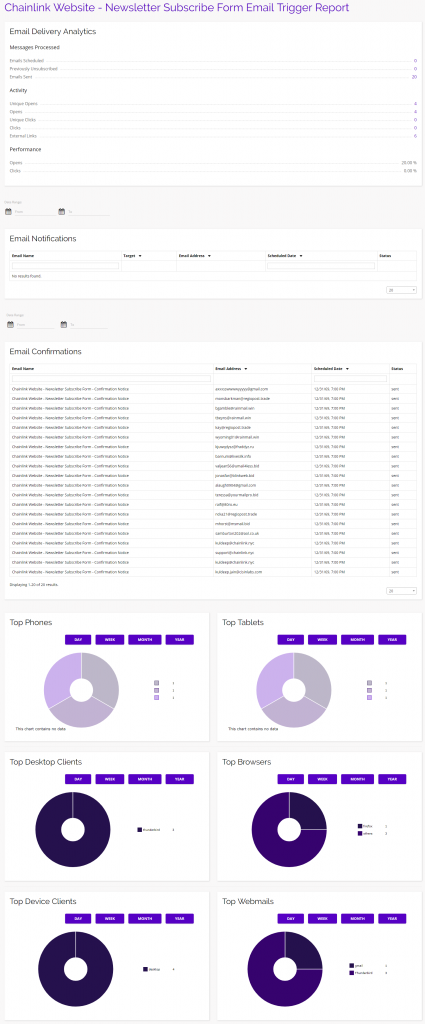
Email Trigger Report:
- The Form Email Trigger Report shows your email delivery analytics and a list of email notifications/confirmations, as well as the top devices and browsers used.
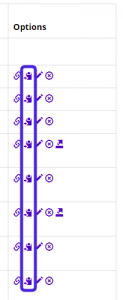
5. Options
- Under the options column on the Forms dashboard, you have access to a few quick tools:
- Preview
- Copy
- Update
- Delete
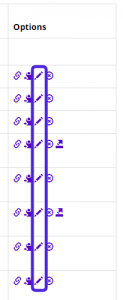
Preview:
- If you click the link icon under the options column, you will see a preview of the form in a separate window.
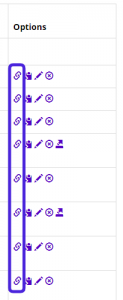
Copy:
- If you click the clipboard icon under the options column, you will create an exact copy of the form.
- This tool can be useful if there is a Form you want to use as a template, but don’t want to edit the original Form.
Update:
- If you click the pencil icon under the options column, you will be able to edit that Form back in the Form builder.
Delete:
- To delete a Form, simply click the delete icon under the options column and the Form will be removed from your platform account.
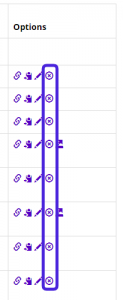
Export:
- For a quick way to export form data from the dashboard, simply click the export icon under the options column and your download will begin immediately.
- Note: You can only export data from Forms that have at least one entry.