New accounts will be created with standard Profile Fields, such as First Name, Last Name, Company, Email and all the other standard Target Profile Fields you’d expect.
From the Profile Field Management page, you can add an unlimited number of custom fields to be used in your data management.
To Create a New Profile Field, click the “Add New” button, choose the appropriate type of field, and then edit and save the new Profile Field. Every field requires a unique TAG so that the Platform can fill these dynamically for your future marketing efforts.
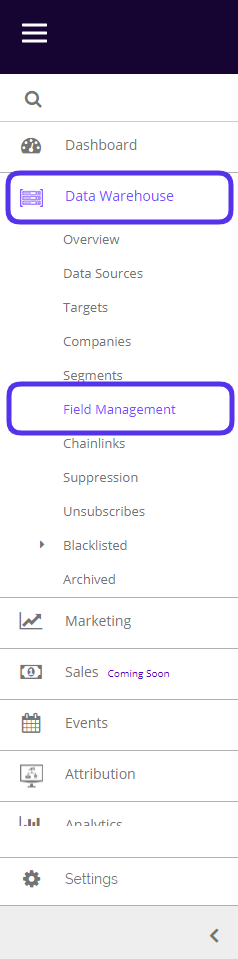
To access your profile field management, navigate to Data Warehouse > Companies > Field Management.
This is what the profile Field Management dashboard looks like:
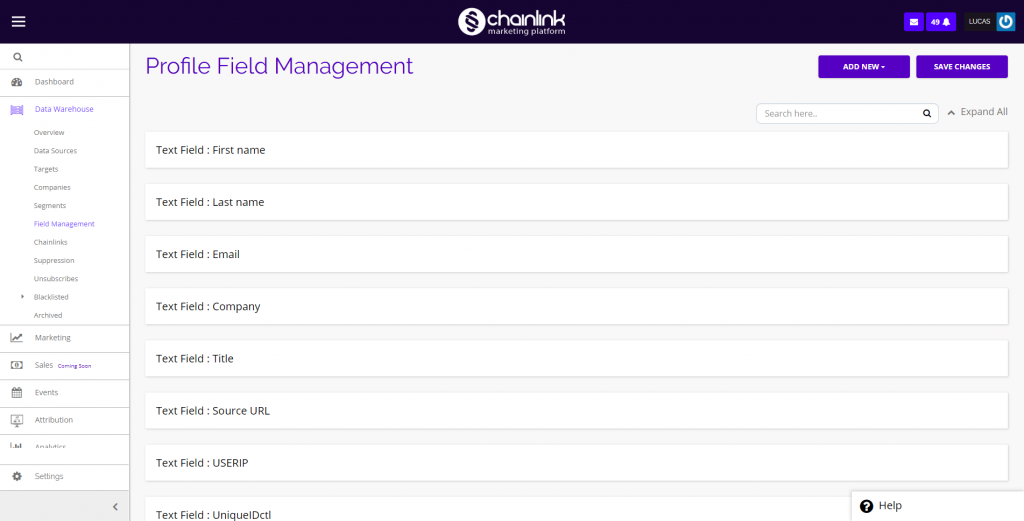
1. Create a New Field
- From the dashboard you can create an unlimited number of customized Fields that can be used in your data management.
- To create a new field, click the Add New button in the top right corner of the page.

- A drop-down menu will appear where you can select the Field type you want to add.
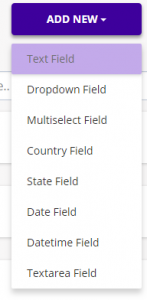
- In this example we will show you what it looks like to create a New Text Field.
- When you click Text Field, a new Field, titled “New Text Field” will appear at the top of the Profile Field Management list.
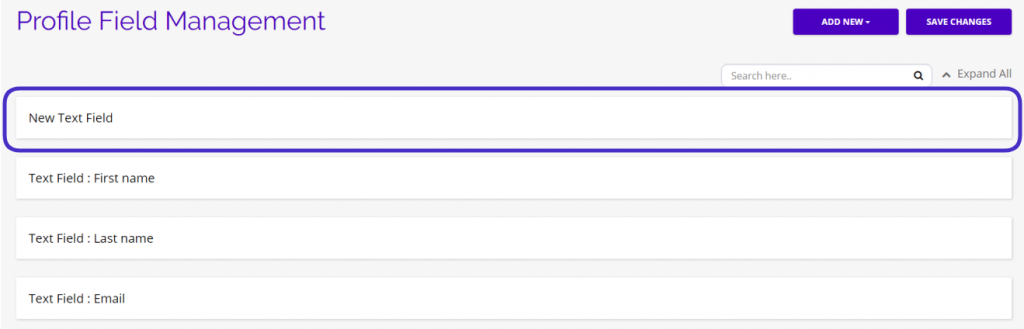
- Next, you can customize the Field and save it in the Chainlink Marketing Platform to be used for your data management.
- Hover over the new field and click the down arrow in the top right corner to expand the field details.

- Be sure to fill out all of the required fields:
- Label
- Tag
- Required (Yes/No)
- Visibility (Visible/Hidden)
- Sort Order
- The number you select for Sort Order will determine where that field will display when looking at an individual Target’s information.
- Make the fields you want to appear at the top a large negative number and work your way up from there for the remaining fields
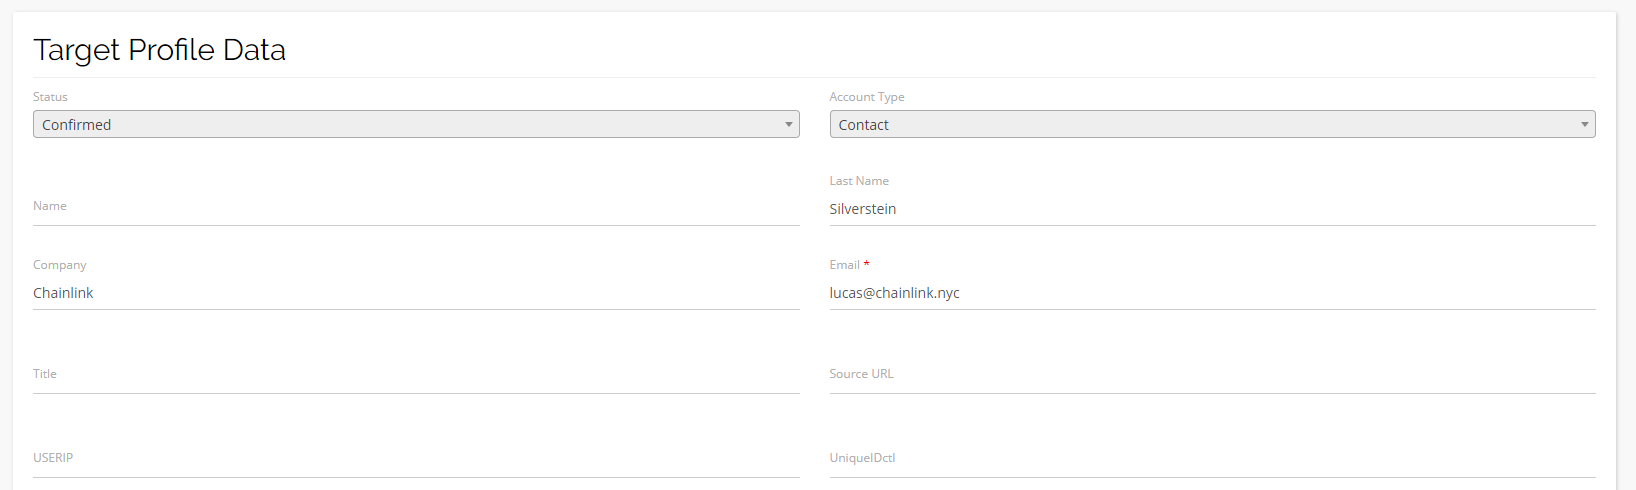
- In the example below, the sort order values are: Name (-18), Last Name (-17), Company (-16), Email (-15), Title (-14), Source URL (-13), and so on.
- If you don’t edit the sort order of any fields, the standard order will be:
- Email = 0
- First Name = 1
- Last Name = 2
- Company = 3
- Title = 4
- Address 1 = 5
- Country = 6
- State = 7
- City 8
- Zip = 9
- Phone = 10
2. Edit Fields
- To edit an existing Field, hover over the Field in the dashboard until the arrow and trash can icons appear.

- If you click on the arrow icon, that Field’s information will be expanded.
- You can also expand every Field’s information by clicking Expand All at the top of the dashboard.

- You can then edit the Label, Tag, Required, Visibility, Sort Order, Help Text, and Default Value of any Field in the platform.
- To delete a Field, simply click the trash can icon and it will be removed from the platform.