This page is a list of your account’s Blacklisted Domains. A domain will be blacklisted if your account has tried to contact via a marketing effort and has had multiple negative email server responses. Most often this is because it is no longer functional, the company’s email server doesn’t allow outside emails, or sometimes due to previous SPAM infractions.
Note: Please contact support if you have a justified reason a domain should be removed from this Blacklist.
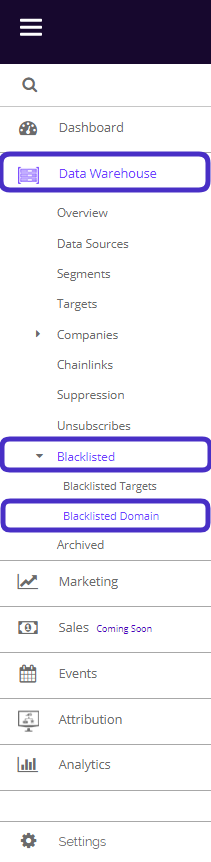
To access Blacklisted Domains, navigate to Data Warehouse > Blacklisted > Blacklisted Domain.
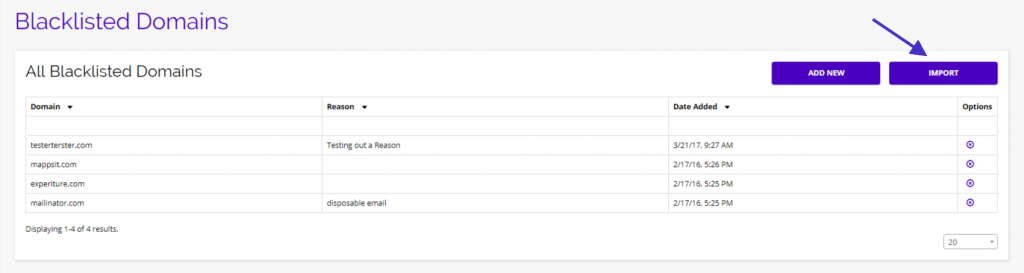
This is what the Blacklisted Domains dashboard looks like:
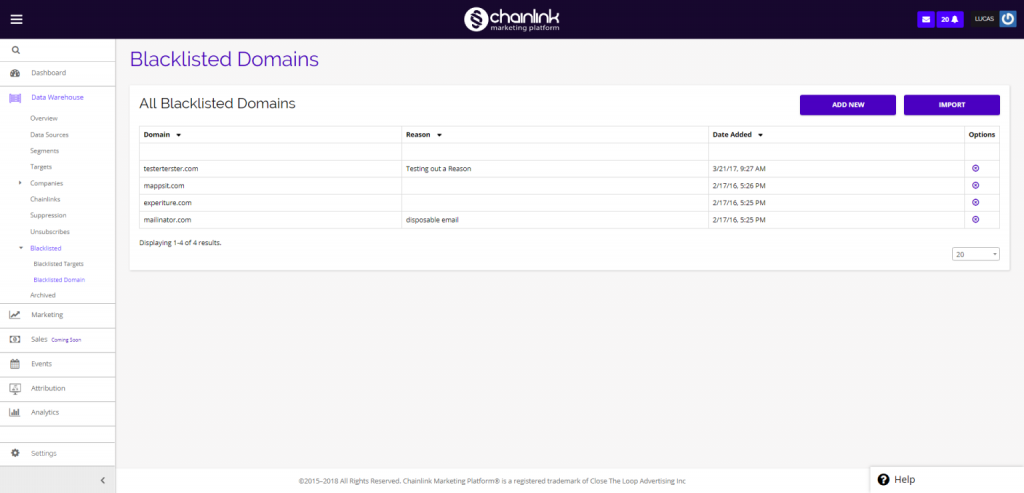
From here you can see all of your previously Blacklisted Domains, add new individual domains to your Blacklist, import a list of Blacklisted Domains, or delete a Domain from your Blacklist.
1. Add New Blacklisted Domain
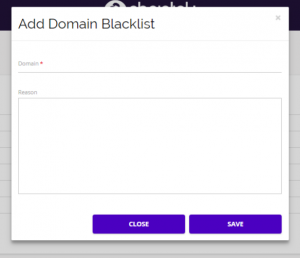
- To add a new blacklisted domain, click the Add New button.

- A pop-up form will appear where you can enter the Domain you want to Blacklist and the reason for Blacklisting.
- Be sure to select Save when finished filling out the required information to add your new Blacklisted Domain to the platform.
2. Import Blacklisted Domains
- From the Blacklisted Domains dashboard, you also have the ability to import a list of domains from outside of the Chainlink Marketing Platform.
- To import a list of Blacklisted Domains, first select the Import button on the dashboard.
- Next, you will prompted to select a file from your computer to import.
- Be sure the CSV file you plan on importing has a header with at least the email column.
- Note: If you are unsure about how to format your file, do an export first to see how the file looks.
- Once you have selected your file, click the Import File button to successfully import your Blacklisted Domains. These newly imported domains will appear on the Blacklisted Domains dashboard.

3. Delete Blacklisted Domains
- To remove a domain from the Platform, click on the delete icon under the Options column on the dashboard.