Here you will find the listing page for all of the events you have created in the platform. You can view and update all of your events as well as create new Events directly from the Events page.
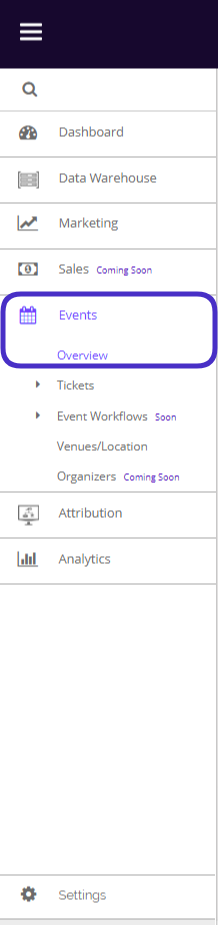
From the dashboard, you can view all your Events, as well as create new Events. This can be found by navigating to Events > Overview.
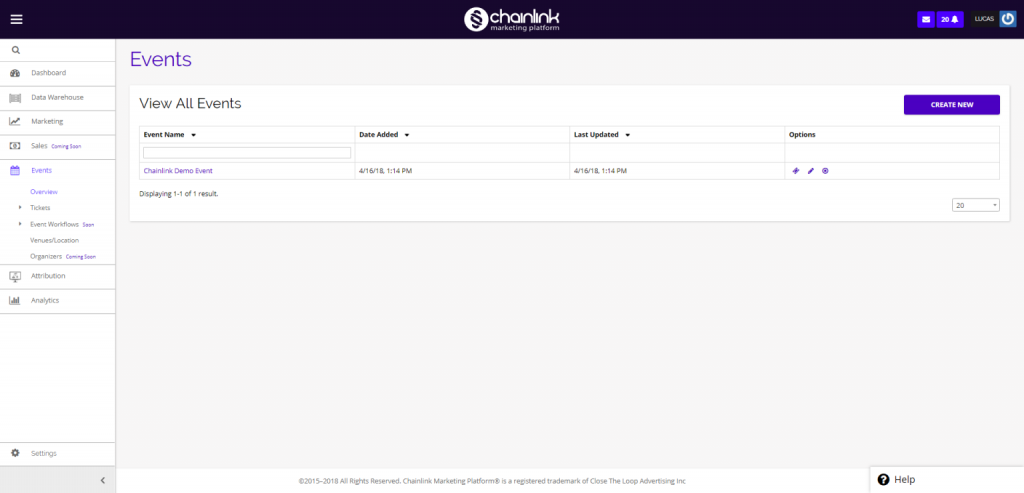
This is what your Events Overview page looks like:
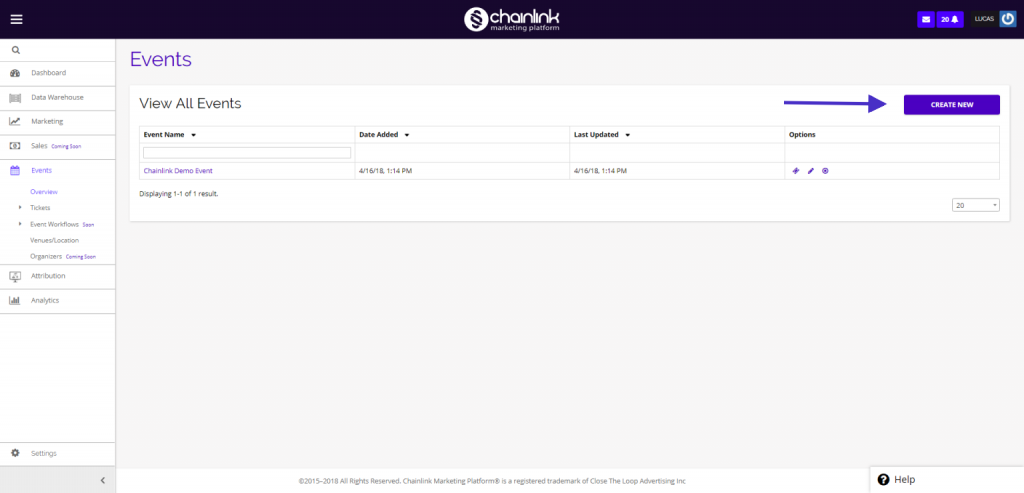
1. Create a New Event
- From the Events listing page, click the purple button that says Create New on the top right of the page.
- After clicking the Create New button, you will be brought to a page where you can enter the details of your event, including: event name, date, time, venue, and general event info.
- Note: The Event field has to be a number. Event Name is where you can input the name for your Event.
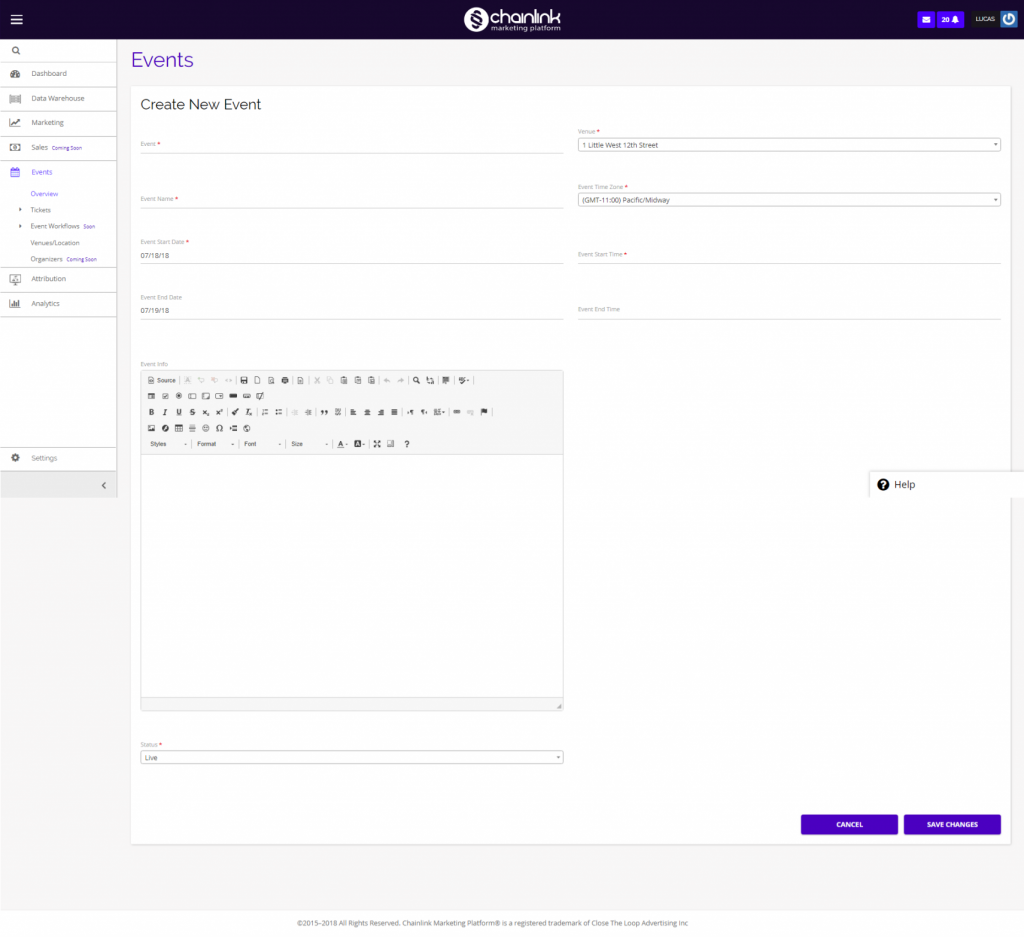
- After filling out all of the required fields, you will be able to create the event info using the visual editor or the HTML Code editor.
Visual Editor:
- Using the visual builder, you can easily edit your Event information using the standard text editor.

- To switch from the visual editor to the HTML Code editor, simply click the highlighted source button.
- Note: Only use the HTML code editor if you are familiar with HTML coding.
HTML Code Editor:
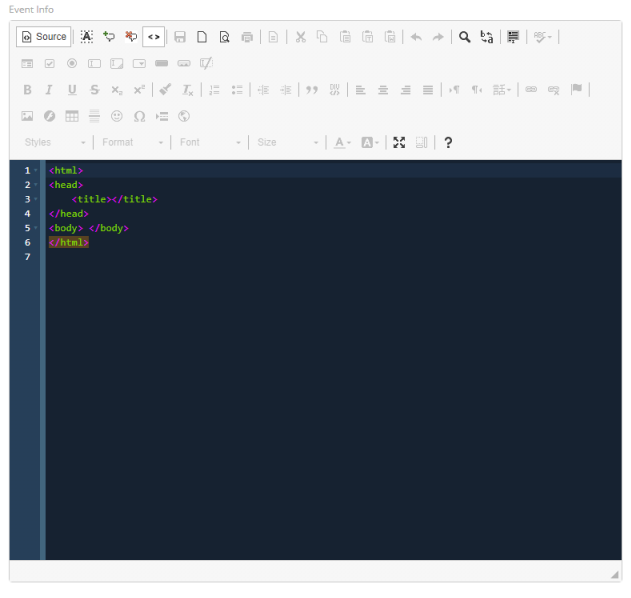
- Be sure to save your changes when you finish filling out the required fields.
- Note: Set your event status to inactive before switching it live to be sure you have all of the correct information.
2. View/Update/Delete Events
- From the Events dashboard you also have the ability to view tickets, update, and delete previously created events.

- To view and edit an event you’ve created, click on the name of the event or the pencil under the options column and you will be brought to the create an event page that is populated with all of the information you previously input.
- To view the tickets for the event click on the ticket icon under the options column.
- To delete an event, click the delete icon under the options column.